
Be consistent and efficient.
Building and maintaining a special measuring tool kit for window treatments is the best way to be sure you always have what you need. It is important to be consistent and efficient when you are on the job site to measure. Clients do notice.
Everything we recommend for your measuring tool kit will fit in one sturdy bag. Obviously, you will need a ladder as well. It’s not included on the list.
Tape Measures

Always use a steel tape measure for window treatments. Invest in a heavy-duty tape measure capable of measuring at least 25 feet. You will want to measure in several directions and a flimsy tape measure will buckle and fold.
Add a cloth tape measure for measuring bedding, pillows and other soft goods. A cloth tape measure is not accurate enough for window treatment measurement.
Protractor for Angles
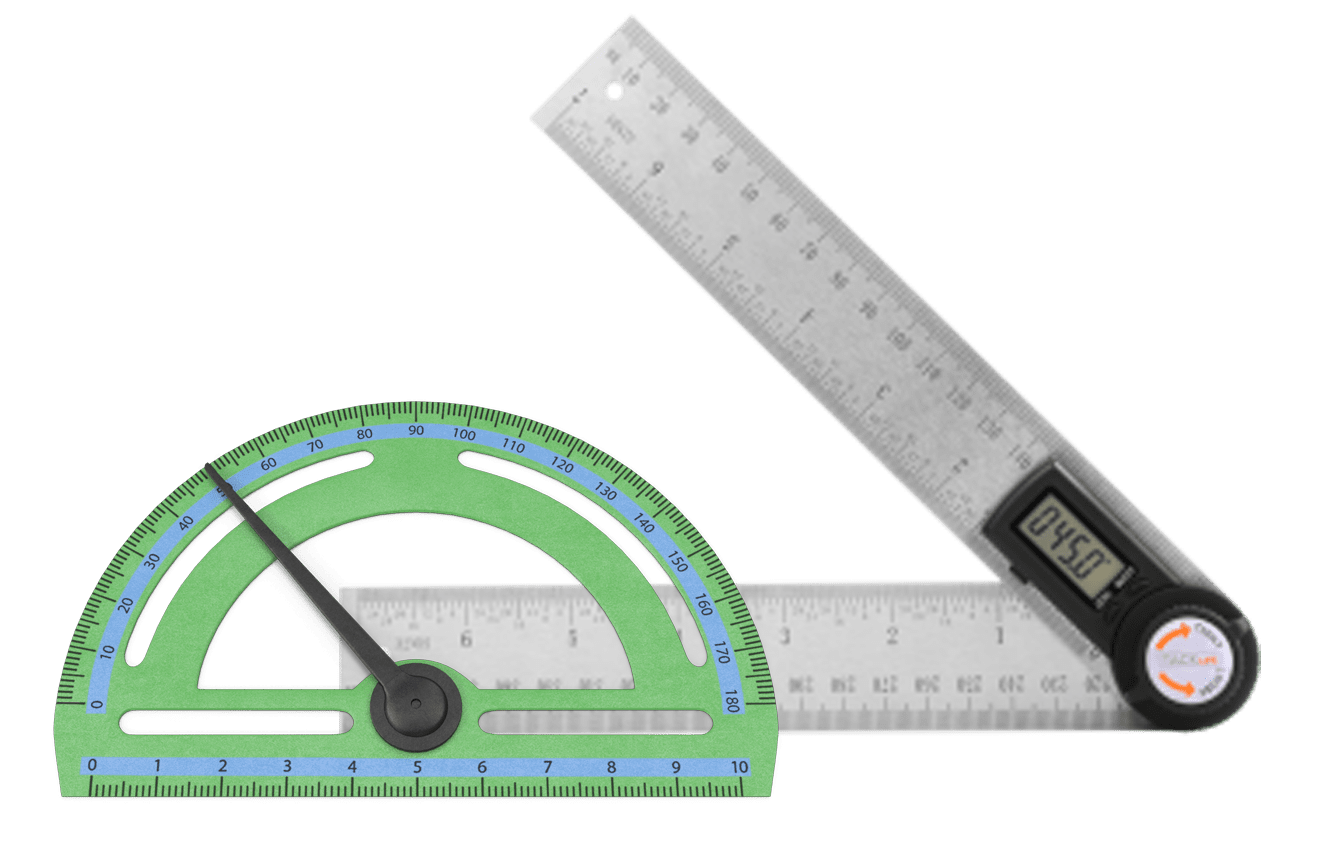
A protractor or other angle measuring tool is necessary to accurately record angles. This is critical for bay windows. Remember, there is no guarantee that the angles in a bay window are all the same. You must measure them all! We recommend using our Bay Window Calculation Sheet to make sure you get every measurement you need.
Camera is critical!

Always have your camera ready to take pictures of the windows you are measuring. If there are any challenges you will have to work around, take close-ups! These will provide a fast refresher for when you refer back to your measurements as you plan and create the treatment. This also supplies you with good “before” pictures for your social media and portfolio.
Supplies for Templates
You won’t always need these items in your measuring tool kit, but it’s best to have them handy if you need them.
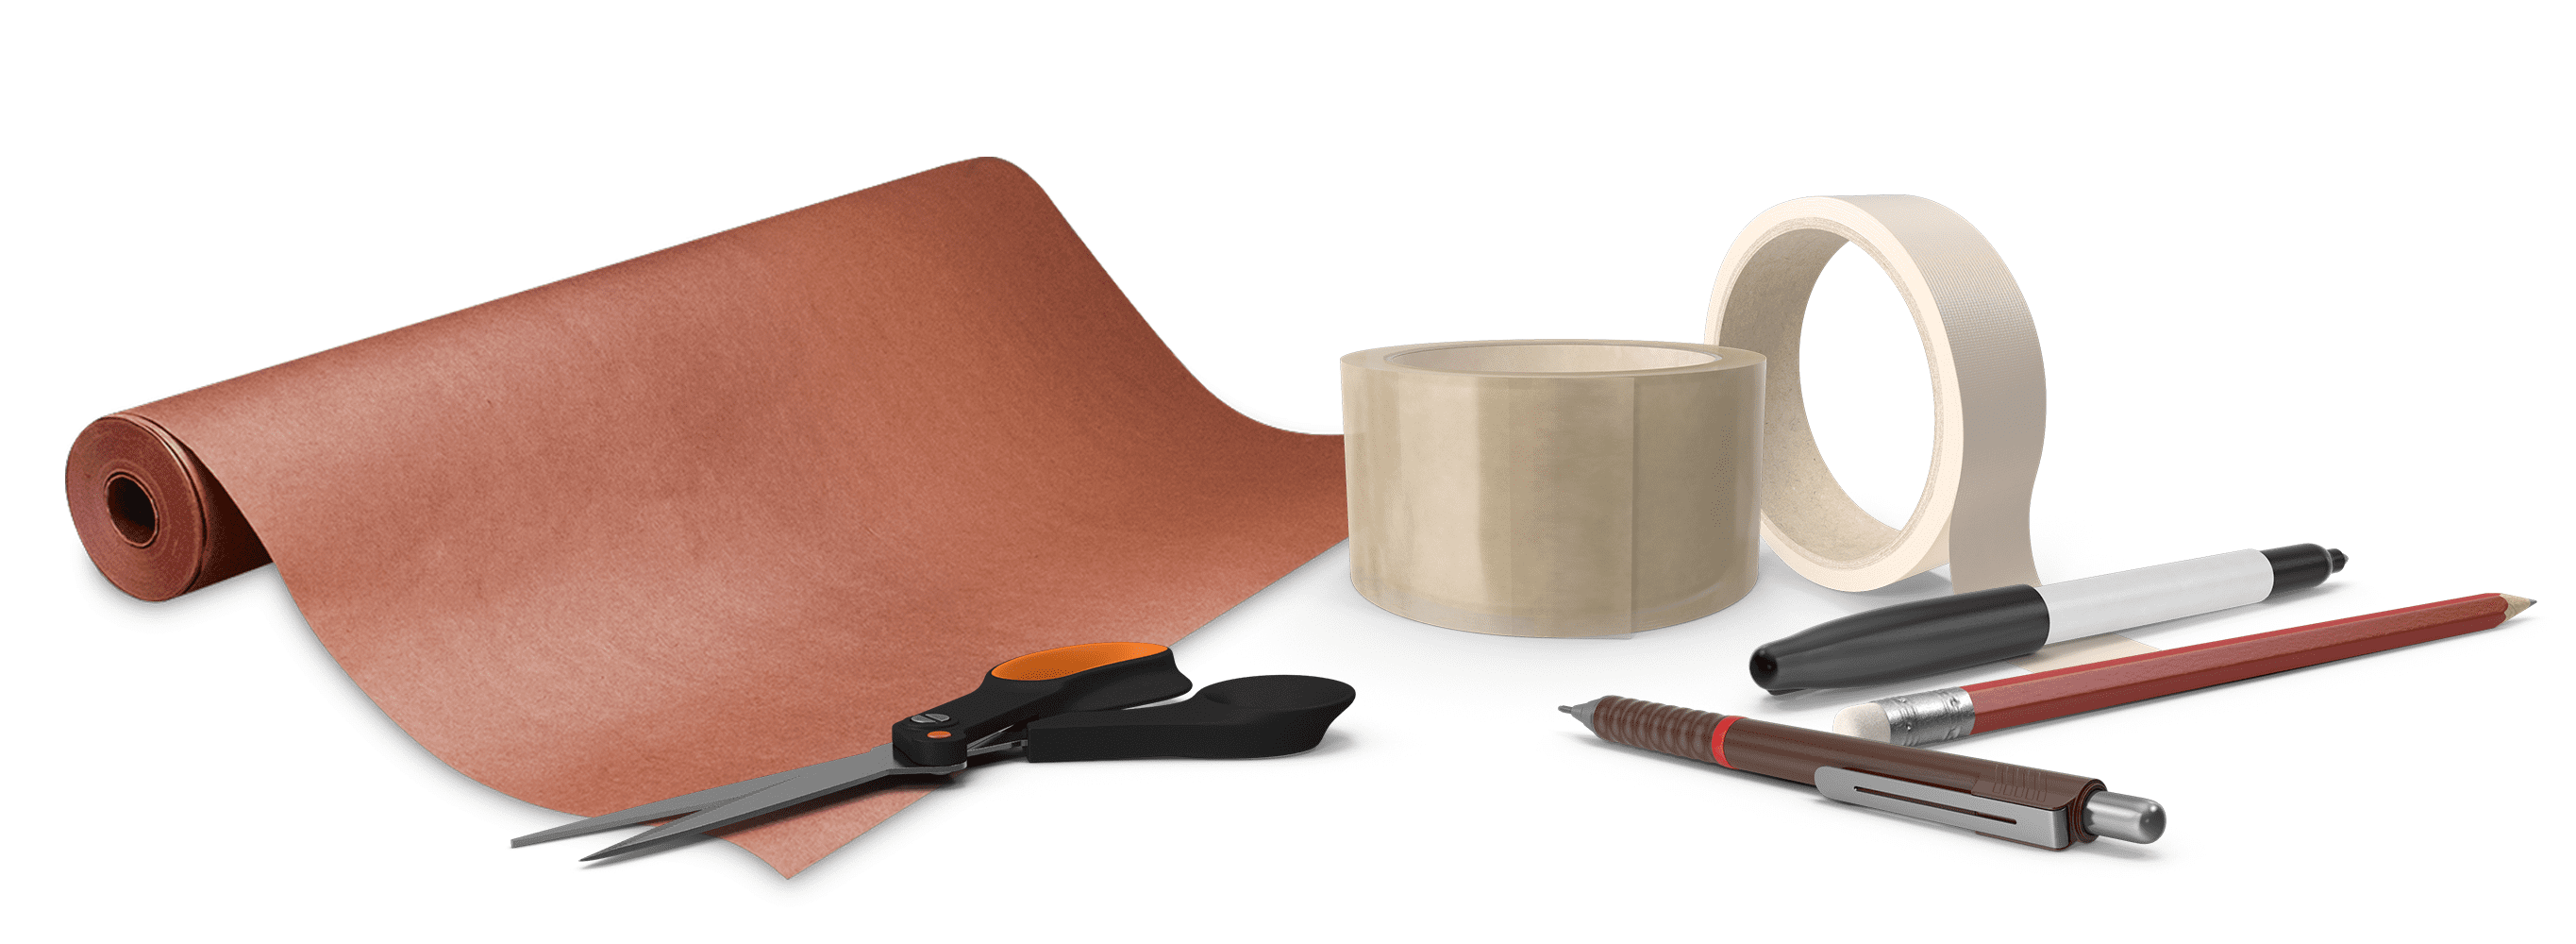
Template paper should be heavy duty craft or butcher paper. It should be at least 20″ wide. Try to carry a roll containing at least 30-50 feet. Use packaging or masking tape to tape pieces of template paper together if necessary. Do not use painters tape. It is made to be temporary and it will not hold. Painters tape is great for temporarily taping the template paper to the floor.
You will need scissors for cutting out your template. Add a pencil to trace against the wall, and a marker pen to write the information needed on the finished template.
We recommend that you refer to our template instructions and custom rod order form to help you create an accurate template. Both are in our price list or available through our customer service reps. Think about keeping these printed and ready in your measuring tool kit.
Writing it all down is so important.

You must record your measurements accurately. Whether you use a sketch pad, measuring form, or your tablet device, take lots of notes! You will never have too much information! You can also load PDF’s of important forms on your tablet. Keep a pencil bag in your measuring tool kit so you have fresh spares.
Additions for top treatments and swags.
You may want some blue tape or post it notes to your measuring tool kit. Use these to mark high and low points of top treatments for the client. Techies will like the idea of a laser pointer for this.

Another helpful tool for illustrating swags is a length of weighted sausage bead chain. This creates a perfect illustration of the width and depth of a swag treatment. Just a tip, make a soft drawstring bag for the bead chain to keep it neatly in your measuring tool kit.
Your measuring tool kit is complete.
Now that you have a specific set of tools and supplies set aside for measuring, you will never again scramble to pull stuff together to meet with your client!